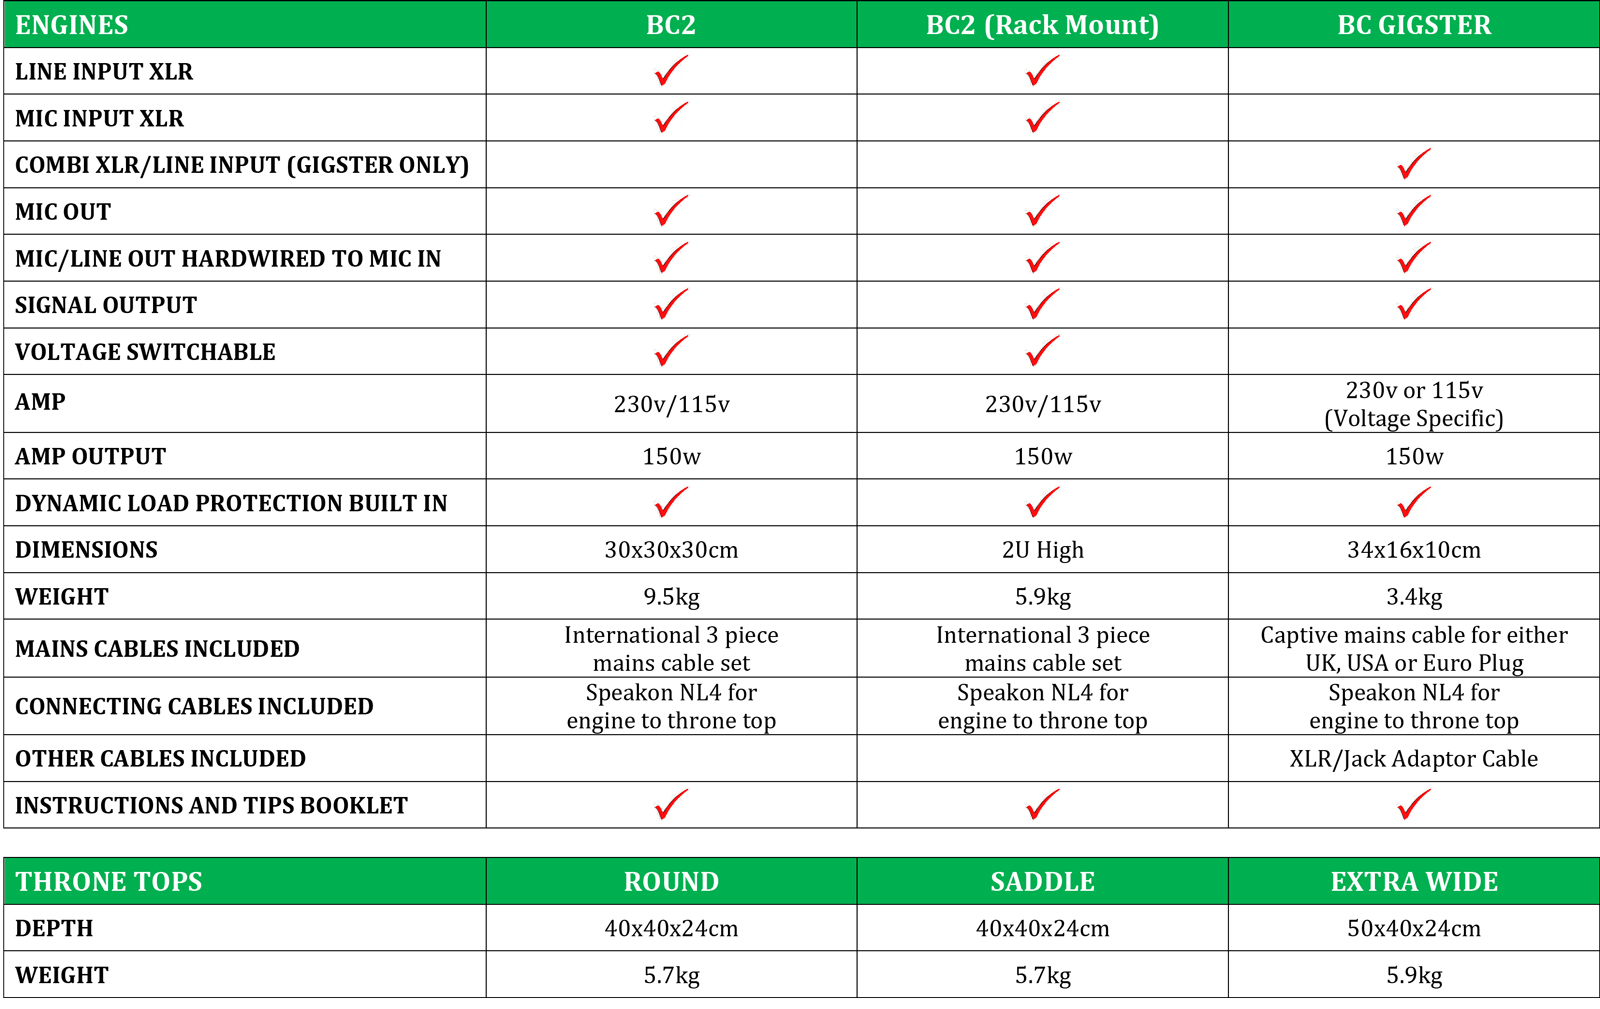
The Gigster (Patented) is available in two models: A 115 volt version for North America and Japan, and a 240 volt version for most other countries. The 240 volt model either comes with a UK or EU plug.
The Gigster comes with the following:
- Gigster Engine (either USA 115 volts, GB 240 volts or EU 240 volts).
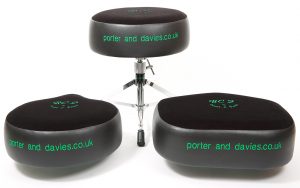
- Throne top (choice of three styles). Integrally mounted inside the throne is our very own Precision Devices transducer.
- Speakon NL4 connector cable.
- Short female XLR to 1/4” jack converter lead to connect a line feed XLR cable to the line input mode of the Gigster ‘Engine’.
You will also need the following, as they are NOT supplied with the Gigster.
- The throne base is NOT included, but our thrones will accommodate 7/8″ diameter throne bases as used by Gibraltar, Roc N Soc, Yamaha, DW, Tama, Pearl, Ludwig, Premier, Custom Percussion, and others. Custom sizes and pneumatic (air lift) mounting brackets are available on request, as are backrests on all models.
- If you like to sit low, we recommend our own extra-low throne base.
- Bass drum microphone and connecting XLR cable.
- Mic stand or Kelly Shu internal bass drum mount (highly recommended).If you wish to connect some midi kits to the Gigster (via the line input) you will need a regular jack to jack cable.
Basic set-up
Put the throne and engine in position.
Plug in the bass drum mic XLR lead or a feed from the monitor board/desk to the dual purpose input socket. Engage Line mode by using a 1/4” jack lead or convert an XLR cable with the short lead (which is provided), then plug in the throne via the supplied Speakon NL4 connector lead, and the power lead. Please see the section below for detailed instructions on using the Line input.
Turn the large ‘Master Level’ knob fully off (anti-clockwise) and start off the ‘Low Contour’ knob at about 12 – 1 o’clock. Switch the power on.
Play the bass drum at your max power and adjust the ‘Mic Level’ knob until the red ‘Peak’ lights up [at this stage you will feel nothing through the throne]. This sets the basic level for your playing style, drum, and whatever microphone you are using.
Next, pull the Mic Level back a fraction to avoid overdriving the unit. Some bass drum mics will run hotter than others.
Gradually turn the Master Volume to your desired setting.
Adjust the Low Contour to your preference. Generally speaking, unported bass drums require far less Low Contour than those that are dampened and ported. Too much Low Contour may trigger the VMT (see below).
Instructions
There are two ways to connect the bass drum microphone to the Gigster system:
- Directly via the ‘Mic’ XLR input.
- Via the ‘Line’ jack input from a desk / board, either with a 1/4” jack cable or with an XLR cable using the provided converter cable into the dual purpose input socket.
‘Mic’ input:
This is the most simple and effective method. The Gigster Engine is equipped with an internal hard-wired passive microphone signal splitter, which means that the signal from the microphone is unaffected by the controls on the Engine. The signal will go through to the PA perfectly even if the Engine is unplugged. The sound techs do their thing, and the drummer controls his/her precise desired setting. We recommend that sound techs are instructed to us the ‘Mic’ Output as if it were the actual microphone XLR socket.
The Gigster is equally happy with both dynamic and condenser microphones.
To use a condenser rather than a dynamic mic, you will need to be connected to a desk/board which can feed it the required 48v phantom power.
‘Line’ input:
The ‘Line’ 1/4” jack input has a number of applications:
- It will also take a feed from a monitor desk/board where you can then apply EQ and gating if required.
- The Line input will also allow other signals to be routed through the Gigster (bass guitar, snare, toms for instance).
- It will allow the connection of electronic drum kits to the Gigster system.
The Gigster Line socket accepts both balanced and unbalanced inputs.
Tips & Suggestions
The Gigster reproduces the sound of your drum with remarkable accuracy.
A badly tuned drum with old heads will not give you the same impact and tone as a well tuned drum. You get back what you put in.
Bass drum size is irrelevant. You will get similar levels of power from an 18 x 14 or a 24 x 18 if they are set up well.
Microphone positioning will affect the response of the Gigster in the same way as it alters the out front or studio sound. A great all-round position (for maximum power and impact) is approximately 4 inches (10 cms) away from the beater impact point, and at a slight angle. Having the mic deep inside the drum will also greatly reduce external sounds (such as a loud bass guitar) from entering the Gigster.
If you have a very loud stage, some gating of the bass drum mic will remove the stage sound from being picked up by the Gigster.
A dampened drum will give you a very direct thump, whereas if your bass drum is very boomy, this length of note will be transferred back to you via the throne. TIP: If you like a long open sound but want a more direct ‘kick’ sensation in your throne, try placing the mic (or a separate one) outside on the batter side of the bass drum nice and close to where the beater strikes.
If you play with both ‘beater on’ and ‘beater off’, the Gigster will faithfully reproduce the different effects of these techniques (depending on bass drum set up, of course)
The white bulbs (VMT):
If you turn the Gigster up high and play with sustained speed and power (double pedal onslaught etc), you will likely engage the Gigster’s VMT (Vacuum Micro Tube) protection device. This is when the white bulbs unit under the grid lights up. This device protects the transducer inside the throne by preventing excessive amounts of signal being sent to it. The more the protection device lights up, the more excess power is diverted away from the transducer and dumped to the bulbs. This enables the P&D system to look after itself and come to absolutely no harm.
For optimum and consistent power we recommend setting the Gigster to a level where the lights do not come on regularly. Even at this level you will probably feel a bit beaten up anyway! If you consistently light up the VMT, please see the ‘Output EQ’ section below.
Try the Gigster in the recording studio: It is an astounding recording aid. You may wish to use a separate mic, especially if the recording mic is way outside the drum.
Driving the Gigster from the monitor desk/board
- Assign a separate output to send a mix to the engine, in the same way as you would for a wedge/monitor sub (this will most likely be an XLR going into our short female XLR to male 1/4” jack converter cable which comes supplied).
- Set the master output of this aux at 0dB (most masters are infinity to +6dB or more).
- This output needs to be nice and hot, because the Gigster Engine has its own volume control, unlike a wedge or sub power amp, which is always set at full volume.
- Mix in appropriate levels of drums, bass, keyboards, or whatever you want to monitor through the Gigster system.
Output EQ
- Most monitor desk/board outputs have assignable EQs. You can enhance the effect of the Gigster signal with a little EQ.
- For the bass drum, we recommend setting the HP filter (or a tight shelving EQ) to around 40Hz (depending on personal preference), as you don’t get any focussed effect in the seat from frequencies below this, but they will draw a lot of power (which can set off the VMT).
- For more thump, the area around 80Hz is very potent, and the frequencies up to around 160Hz are all felt physically.
- Set a very narrow band (High ‘Q’) 6db peak and sweep the frequency between 70-100Hz until you find your personal chest cavity resonance (the bass drum ‘hit’ sensation). You will now find you can reduce the master volume and retain the best effect from the unit.
- These settings also work wonders with any other signal fed into the Gigster, ie toms, snare, bass guitar etc.
Please remember that at Porter & Davies we are always here to help, so PLEASE get in contact if you have any questions.
Download PDF

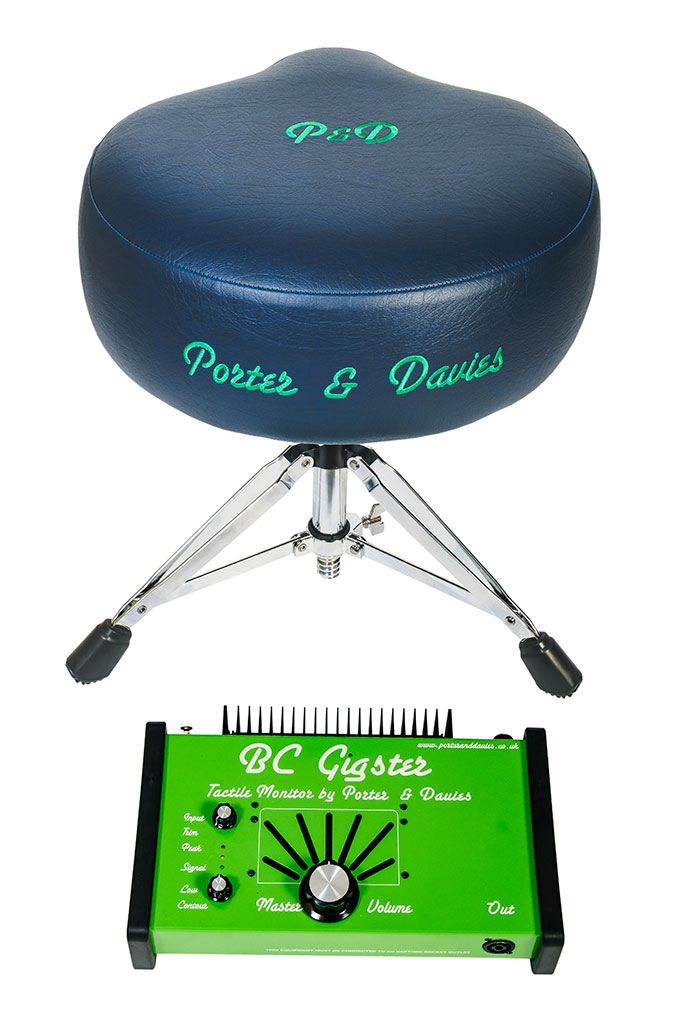 The BC Gigster features the same astounding performance and build quality as our flagship BC2 and BC2rm, but with reduced features to help achieve a substantially lower retail price.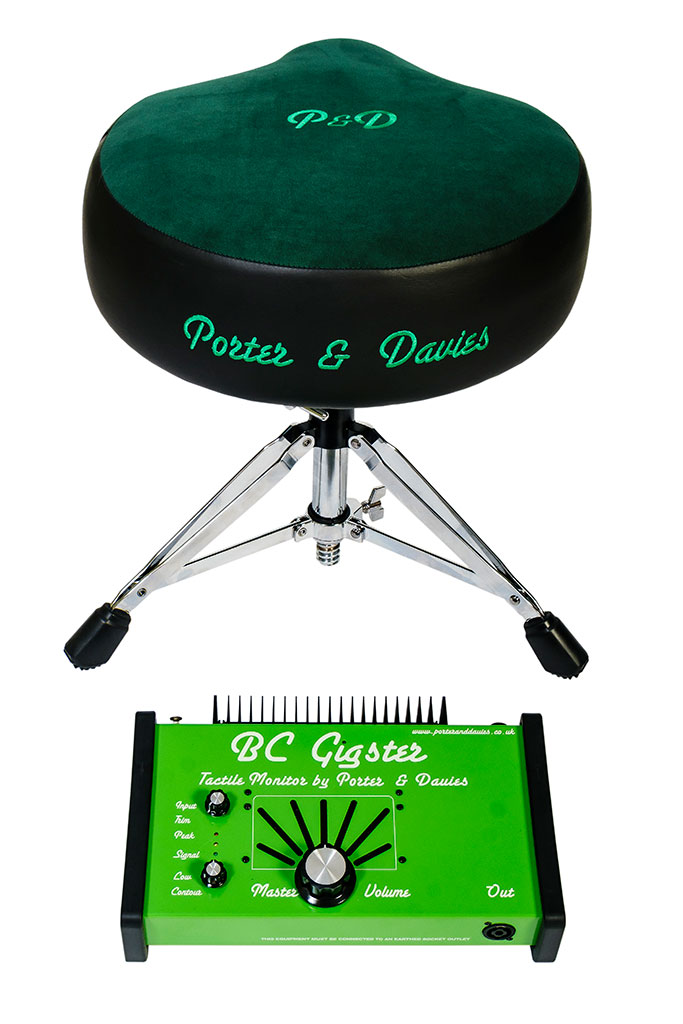
 The BC Gigster is an amplified Tactile Generator Monitor System which transmits the full bass drum signal and sound (or any other drum) physically up through the drum stool. This signal is registered mainly through bone conduction (see the Theory page), and the result is far more sophisticated than a simple “thump”. All of the tone and intricacies of the bass drum sound and impact are felt and heard internally.
 The drummer has full control over power and intensity immediately to his/her side, and the system is 100% consistent, night after night, regardless of acoustics, room size, etc.
 If you use IEMs, the Gigster completes the sonic experience by providing the physicality of the bottom end which otherwise cannot be replicated.
 Low Contour: +/- 12dB @ 55Hz shelving